How to get Blue Tick on Facebook: Users can avail the benefit of this Blue Tick service by making monthly payments on Facebook. But do you know that you can easily get a blue tick on Facebook, which gets verified in a few hours?

You will get Blue Tick on Facebook instantly, the process is very easy; Just follow these steps
How to get Blue Tick on Facebook: Meta has started a Verification Service in India. Both iOS and Android users can take advantage of this service. Users can avail of the benefit of this Blue Tick service by making monthly payments on Facebook. But do you know that you can easily get a blue tick on Facebook, which gets verified in a few hours? For this follow all the steps given below.
Let us tell you, with Meta Verification, Facebook users can get verification with a government ID on two platforms. Along with getting the blue tick on the platform, the company offers many powerful features to the users of this service. Know here about these special features related to meta verification.
What are the benefits of Blue Tick?
Users get access to proactive account monitoring, impersonation protection, and two-factor authentication.
Apart from this, users get exclusive stickers for Facebook's stories and reels. Whereas on Facebook, users are given access to 100 stars every month to support creators.
If there is any issue in the account then they get the support of a real personal.
At the same time, users get good reach and visibility for platforms like search, comment, and recommendation.
As Meta Verified service has become available in India, you can get it on Instagram and Facebook by following the simple steps given below.
Meta told us that if your verification process is completed, it will take up to 48 hours for your response.
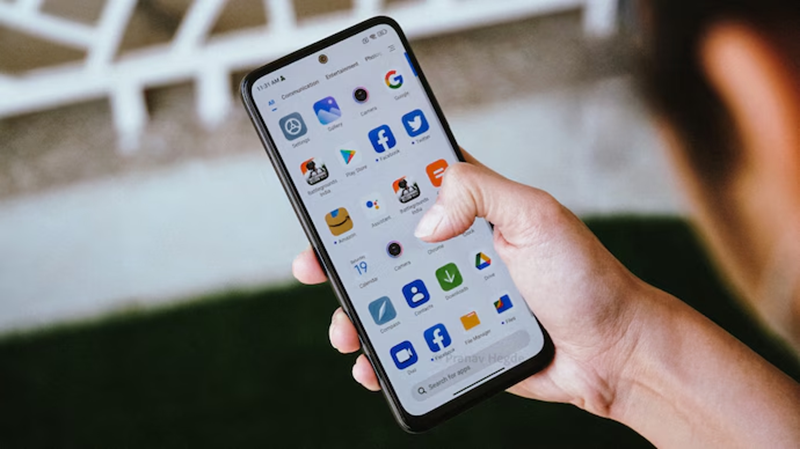
How to get Blue Tick on Facebook
Step 1: Tap on the menu of Facebook's main profile.
Step 2: Go to Settings and tap.
Step 3: Now tap on Account Center and then tap on Meta Verified available in Account Settings.
Step 4: If the option of Meta Verified Account is visible in the profile below the name and profile photo, then click on it. Now click on the subscription option.
Step 5: Now view the benefits included in the list and click on Continue.
Step 6: Now confirm the payment and tap on Pay Now.
Step 7: Now upload the ID to complete the verification process.
Step 8: Now select the profile which you want to verify.
Step 9: Update the name and save it.
Step 10: Now tap on the Next option.
Step 11: Now click on the type of identification and click on Next.
Step 12: Now after confirming the ID, click the photo. Step 13: Confirm the given information and click on the Tap Next option. If the information is not displaying correctly, try again.
Step 14: Take a photo of the ID from the back and tap on Take a photo.
Step 15: Confirm the information and submit. If the information is not displaying correctly, try again.
Step 16: It will take some time for your ID to be uploaded, after which tap on Finish.
How much will be charged? (Price of Blue Tick in India)
Users will have to pay Rs 699 monthly on the app for a verified blue tick. This charge is the same for both Android/iOS. The company will reveal the subscription price for the web in the coming few months.