
LIFESTYLE
Water Tank Leakage: Is there dampness under your rooftop water tank? Stop leaks immediately.
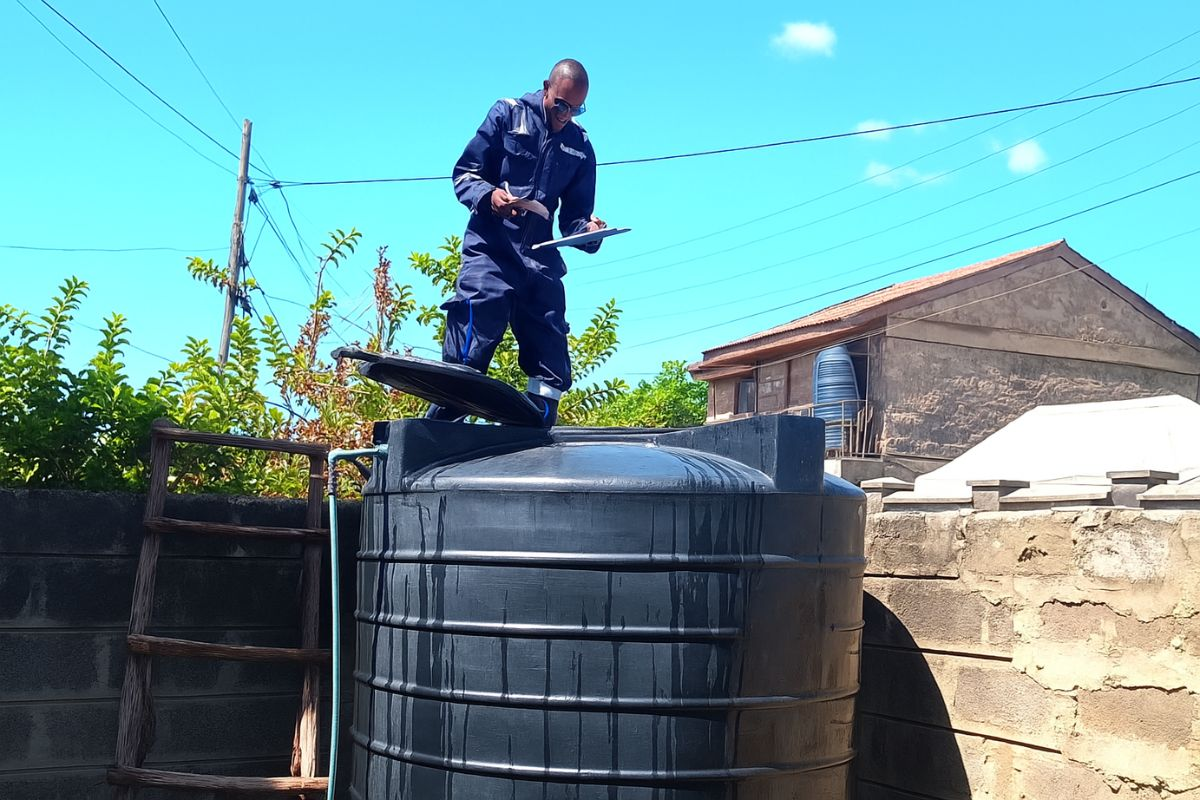
Water Tank Maintenance: Constantly wet floors, moisture marks around the tank, dampness on the walls or water accumulation near pipe joints can be signs of leakage in the tank.
How to fix a leak from a rooftop water tank?
Easy Hacks to Repair Cracks in a Plastic Water Tank: If the area under the water tank on the roof of your house always appears wet, it's not a good idea to simply assume it's due to rain or water spillage. Sometimes, water is leaking from the tank very slowly, and it's only noticed when the floor around the tank remains constantly damp. In some cases, the tank is cracked, while other times, water is leaking from a pipe joint or connection.
In such a situation, there's no need to immediately replace the entire water tank. It's important to first determine where the water is leaking. Once the exact location of the leak is identified, repairs can be made to that area.
What does wetness at the bottom of the tank indicate?
Persistently wet floors, damp spots around the tank, dampness on the wall, or water accumulation near pipe joints may indicate a tank leak. If water usage is normal, but the tank level is constantly decreasing, there may be a hidden leak. Sometimes the leak is so small that the stream of water is not visible. Water slowly seeps out, accumulating moisture on the surface below. Over time, this moisture can damage the roof or the structure surrounding the tank.
First, look for a crack in the tank.
If the tank is made of concrete, it may develop small cracks over time. Shrinkage, aging, temperature changes, or constant water pressure can also cause cracks. Tanks placed on rooftops are more exposed to the weather , making them more susceptible to such damage. Plastic tanks can also be problematic. Prolonged exposure to sunlight, impact, or weakening of the plastic can cause small cracks or holes. Therefore, it's important to carefully examine the tank's surface, not just the wet spot on the bottom.
Water can also come out from the pipe joint
Sometimes the tank is perfectly fine, but there's a problem with the connection to the inlet or outlet pipe. Loose fittings, poor sealing, or constant movement of the pipe can weaken the joint and cause water to leak. So, if there's moisture underneath the tank, take a close look at the area around the pipe. If you see persistent moisture or water droplets in one spot, that's likely the source of the leak.
How to find out where the leak is at home
Before replacing the tank, it's important to inspect it. First, look for any visible cracks, gaps, and joints inside and outside the tank. Next, check the inlet and outlet pipe connections. Look carefully for loose fittings, water droplets, or persistent moisture. The tank's water level should also be noted. Observe how quickly the level drops when the water is not being used. If the water level continues to decrease even without use, there's a possibility of a leak.
Another way to identify the leak is to fill the tank a little at a time and observe the various areas. Mark the areas where water is leaking. This allows you to focus on the problem area during repairs rather than working on the entire tank.
What to do in a concrete tank?
If a concrete tank has a small or medium crack, waterproof mortar can be used to repair it. This helps fill cracks and damaged plaster areas. A waterproof coating can also be applied to the concrete surface, which creates a protective layer to prevent water from penetrating. Epoxy or polyurethane sealants can also be used to seal joints or areas with persistent leaks. These can be used for areas such as pipe joints, construction joints, and gaps.
Repair a plastic tank in a different way
For small cracks or holes in plastic tanks, waterproof adhesive sealant can be used. For larger cracks, heat welding may be an option, where a similar plastic is heated and bonded to the damaged area. For small leaks, repair tape can be used as a temporary solution.
Avoid these mistakes before repairing.
Before applying any sealant or coating directly to the leak, thoroughly clean the surface. Dust, moss, grease, or loose particles can prevent repair materials from sticking properly. It's also not advisable to use the same material for concrete and plastic. If the crack is large or the problem doesn't seem to be confined to the surface, it's worth having a thorough inspection done instead of simply applying a superficial patch.