
LIFESTYLE
Wall Plaster: Install nails on the wall without breaking the plaster; this 1 hack will be very useful
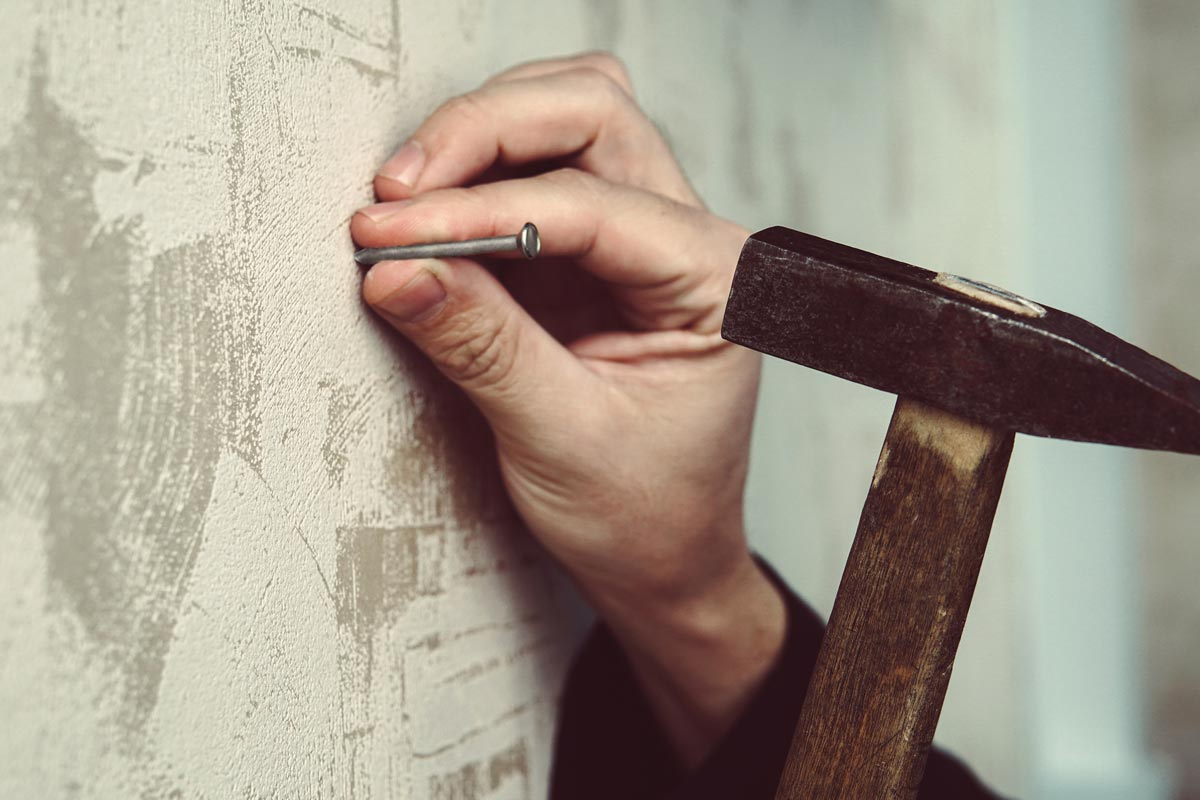
Prevent Plaster Cracks: Small cracks can develop in plaster. If the plaster is already weak or is peeling due to moisture in the wall, a nail can cause a section of it to break off.
How to prevent plaster from cracking when hammering a nail into a wall
Easy Hacks to Drive Nails Into Walls Safely: To hang a photo frame, clock, calendar, or any other object on a wall, you often need to hammer in a nail. However, sometimes the plaster of the wall breaks while trying to drive in a nail, leaving a small dent or crack nearby. A plaster wall is especially prone to this if struck hard with a hammer. If you're experiencing the problem of plaster breaking while hammering in a nail, you can minimize the damage to the wall by keeping a few simple things in mind.
In fact, when you hammer a nail into a wall, the pressure of the hammer's impact is applied to the surrounding area. This can cause small cracks in the plaster. If the plaster is already weak or is peeling off due to moisture in the wall, a section of it may break off as soon as you hammer in the nail. Therefore, it's crucial to choose the right spot before driving the nail.
Check the wall before hammering in nails.
First, carefully examine the area where you want to nail. If there are already visible cracks, raised plaster, or any weak areas, avoid nailing in that area. Wall corners and edges may also be relatively weak, so hammering a nail directly there could increase the risk of the plaster cracking. An easy way is to gently tap the area where you want to nail with your fingertips. If the sound is normal and solid, the area is likely strong. However, if the sound is very hollow, the plaster in that area is likely weak.
Use the right nail
It's not advisable to use the same type of nail for every wall. For relatively soft surfaces like plaster or drywall, thin, standard steel nails can be used. Concrete walls, on the other hand, are much harder, so attempting to drive a standard nail into them could crack the surface or cause the nail to fail to penetrate properly. Caution is also necessary before driving nails into brick walls. Where possible, it's best to drive nails into the mortar between the bricks, as a sharp blow directly onto the brick can cause it to crack.
Tape the nail area
A small piece of painter's tape can also be helpful to prevent chipping of plaster on the wall. Place a small piece of tape over the area where the nail needs to be driven, then place the nail over the tape. Slowly drive the nail in with a hammer. The tape can help stabilize the surface somewhat and reduce the chance of small pieces of plaster being chipped off during the initial hammer blows.
Make the first stroke lightly
The most common mistake when hammering a nail is to start hammering hard. This can cause the nail to slip out of place and damage the plaster. Therefore, use a very gentle hand for the first few strikes. Once the nail is driven in slightly and firmly in place, increase the pressure as needed. Instead of swinging the hammer, keep it straight and strike in one direction consistently.
Use clips to keep the nail in place.
Holding the nail in your hand while hammering can be risky for your fingers at first. Instead, use a small clip or comb to steady the nail during the initial strikes. This will reduce the chance of the nail slipping and ensure the hammer strikes directly on the nail.
Even a small piece of bread can be useful.
Another homemade method for initially stabilizing a nail is to use a piece of bread. Roll the soft part of the bread into small balls and place them on the wall where the nail is to be driven. Place the nail on top of them, and then hammer very gently. The soft part of the bread can help hold the nail in place during the first few strikes. This can reduce the chance of the nail slipping and prevent unnecessary damage to the wall. However, it's important to hammer in the nail slowly rather than using too much force.