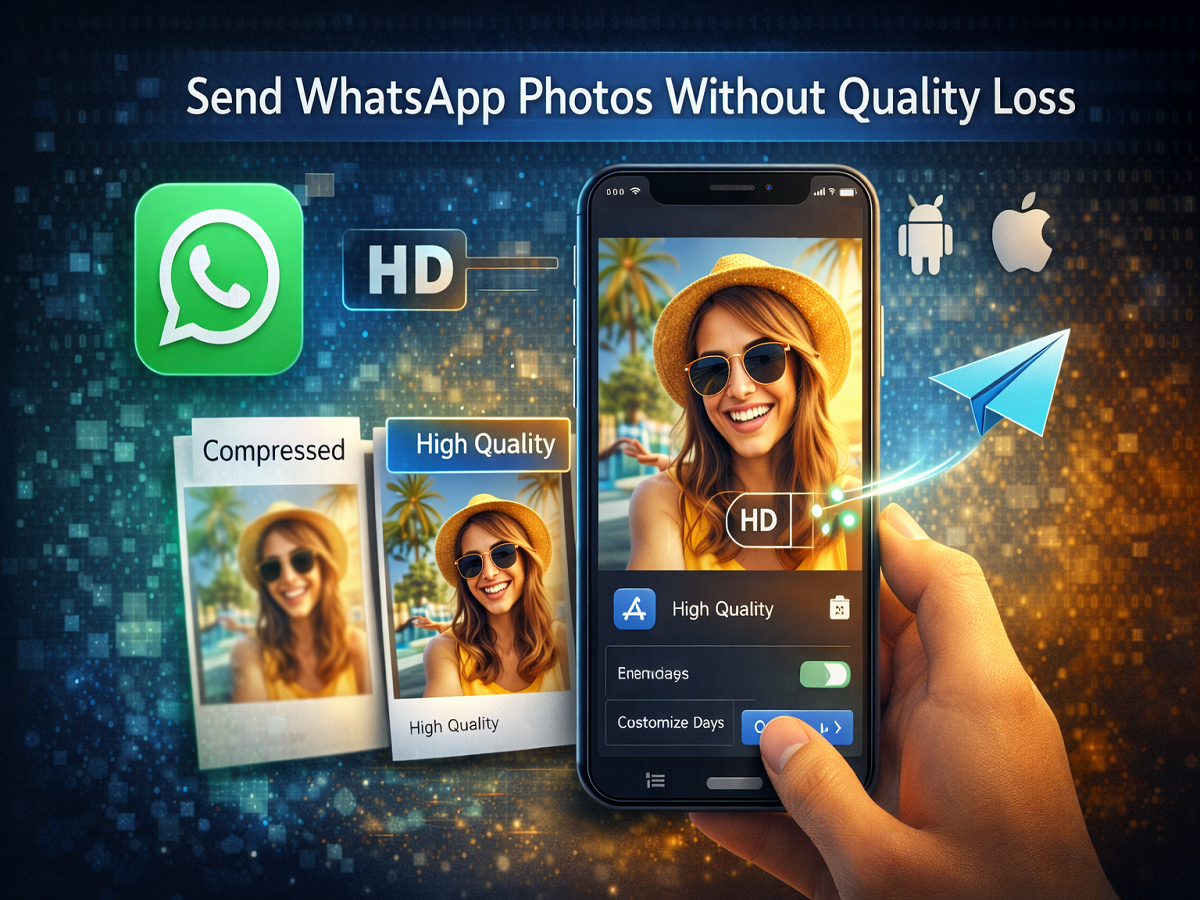
Sharing photos through messaging apps has become a routine part of daily communication. Whether it's travel pictures, documents, or memorable moments, users often rely on WhatsApp to send images quickly to friends and family. However, many users have noticed that photos shared through messaging apps sometimes lose their original clarity because of compression.
To improve this experience, WhatsApp introduced a Photo Quality setting that allows users to choose how images are uploaded and sent. This feature helps users send photos with better clarity and resolution while also giving them the option to save mobile data if needed.
If you want to share images without losing too much quality, here’s a detailed guide explaining how to send photos in original quality on WhatsApp.
Understanding WhatsApp’s Photo Quality Feature
In earlier versions of WhatsApp, photos were automatically compressed before being sent. While compression helps reduce file size and speeds up sharing, it can reduce the sharpness and overall quality of the image.
To address this issue, WhatsApp introduced the Media Upload Quality feature. This setting allows users to choose the level of compression applied to images before sending them.
The feature includes three options:
Auto:
WhatsApp automatically decides the upload quality based on your internet connection and device performance.
Best Quality:
Photos are sent with minimal compression, maintaining higher resolution and image clarity.
Data Saver:
Images are compressed more heavily to reduce file size and save mobile data.
By selecting Best Quality, users can ensure that their images retain much of their original resolution when shared.
How to Send High-Quality Photos on WhatsApp for Android
If you are using an Android smartphone, follow these steps to enable the best photo quality setting.
Step 1: Update WhatsApp
Make sure you have the latest version of WhatsApp installed from the Google Play Store.
Step 2: Open WhatsApp Menu
Launch the WhatsApp application and tap on the three-dot menu icon located in the top-right corner.
Step 3: Access Settings
Tap Settings from the dropdown menu.
Step 4: Go to Storage and Data
Inside Settings, select the Storage and Data option.
Step 5: Select Photo Upload Quality
Under the Media Upload Quality section, tap on Photo Upload Quality.
Step 6: Choose Best Quality
Select your preferred option from the list:
- Auto
- Best Quality
- Data Saver
Choose Best Quality if you want to send photos with higher resolution.
Step 7: Confirm Your Choice
Tap OK to save the changes.
Once enabled, photos you send will retain better clarity compared to the default compressed setting.
How to Send High-Quality Photos on WhatsApp for iPhone
The process is very similar for users of Apple iPhone devices.
Step 1: Update the App
Install the latest WhatsApp version from the Apple App Store.
Step 2: Open WhatsApp Settings
Launch the app and tap the Settings tab located at the bottom-right corner.
Step 3: Navigate to Storage and Data
Select Storage and Data from the menu.
Step 4: Open Media Upload Quality
Tap on Media Upload Quality.
Step 5: Select the Desired Option
Choose one of the available options:
- Auto
- Best Quality
- Data Saver
To send photos with minimal compression, select Best Quality.
Step 6: Confirm the Selection
Tap OK to apply the setting.
Benefits of Sending Photos in Original Quality
Choosing higher quality photo sharing can be beneficial in several situations:
Better image clarity:
Photos retain more detail and sharpness.
Useful for professional sharing:
Designers, photographers, and content creators often need higher-quality images.
Improved document visibility:
Images of documents, receipts, or certificates remain clearer.
Better viewing experience:
Recipients can see photos in better resolution.
Final Thoughts
WhatsApp’s media upload quality setting gives users greater control over how their photos are shared. Instead of relying on automatic compression, users can choose whether they want better image clarity or lower data consumption.
By enabling the Best Quality option, you can ensure that your photos are shared with higher resolution and minimal loss of detail, making the messaging experience more satisfying for both the sender and the recipient.