Dental Floss Hack To Remove Stuck Photos: Old photographs are not just pictures printed on paper; they are associated with family memories, special moments, and many old stories.
How to remove glued photos from old photo albums?
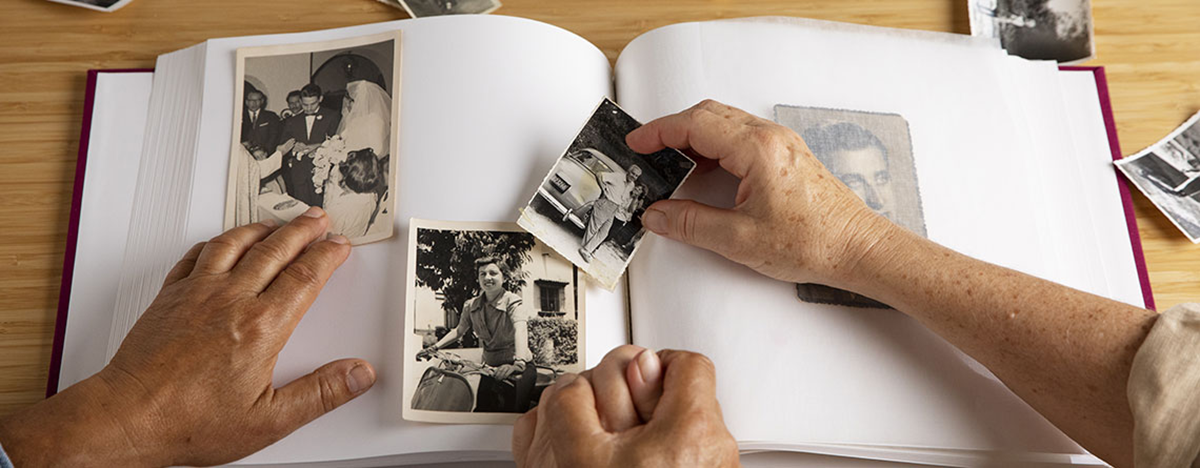
How To Remove Stuck Photos From Album: Old photos kept in a photo album are not just pictures printed on paper, but family memories, special moments and many old stories are associated with them. But with the passage of time, the pages of the album start weakening and the glue used to stick the photos can also dry and harden. In such a situation, sometimes the photos get stuck to the pages of the album in such a way that it becomes very difficult to remove them. If the pages of your old photo album are stuck together or the photos are stuck to the pages, then do not try to remove them by pulling them out in a hurry. This may tear the photo and damage it forever.
First, take a photo or scan of each page.
Before sorting old photos, take a clear photo or scan each page of the album as a precaution. Choose a well-lit area for this. This will ensure you have a digital record of any photos that might be damaged during removal.
Choose a clean, flat surface to work. Ensure adequate lighting, but avoid direct, harsh light on the photographs. Wash your hands before handling photographs. Soft cotton gloves are acceptable if available. Examine the album pages and photographs carefully. If the paper is fragile, the edges are fraying, or the surface of the photograph has a shiny finish, you'll need to be extra careful.
First, understand how the image is glued.
Not every album has the same method for gluing photos. Some older albums have adhesive or "magnetic" pages, coated with a transparent plastic layer. Over time, the adhesive on these pages can yellow or harden, leaving the photo firmly attached to the back. Some albums glue photos directly to the page. Others use photo tabs or small, double-sided adhesive pieces. There are also corner-mount albums, where photos are attached only to the corners and can be removed relatively easily.
Use these things to take pictures.
Dental floss or unwaxed thread can be used to gently separate the photo, rather than pulling it. A thin micro-spatula, plastic card, or bone folder can also be useful. Tweezers and soft cotton gloves can also be useful. Silicone release paper or baking paper can be placed under the part of the photo that has come off. This will prevent it from sticking back together. Ensure all tools are clean and that unnecessary pressure is not applied to the photo.
Start slowly from one corner.
When removing a photo, choose a corner first. If possible, start with a less important photo. Gently insert dental floss under the edge of the photo and gently work it inward. The goal is not to pull the photo up, but to gradually separate the stuck part. If you feel significant resistance at one point, don't apply force. After moving a few millimeters, re-examine the stuck part and try from another side as needed. It's safer to separate the photo in small sections rather than pulling it all at once.
If it is too sticky, use heat wisely.
Some old, pressed glue can be softened with gentle heat. However, this method can be risky, so extreme caution is necessary. Set a hair dryer to the lowest setting and low airflow. Hold it about 20-30 centimeters away from the back of the album page, not the front of the photo, and apply gentle heat for 10-20 seconds. Then, turn off the heat and try to gently separate the edge again with floss or a thin spatula. If the surface of the photo becomes sticky, shiny, or begins to curl, stop immediately and let it cool.