In India, the Aadhaar Card has become one of the most essential identity documents, used for everything from banking to government services. However, many people are still using outdated or unclear photos on their Aadhaar, which can lead to unnecessary complications.
From failed KYC checks to delays in financial transactions, an old Aadhaar photo can quietly create serious problems. If your Aadhaar image no longer matches your current appearance, updating it is not just a good idea—it’s necessary.
This guide explains why updating your Aadhaar photo matters, clears common misconceptions, and walks you through the complete process in simple steps.
Why Updating Your Aadhaar Photo Is Important
Your Aadhaar card is widely used as proof of identity across India. Whether you’re opening a bank account, completing KYC verification, or accessing government schemes, your Aadhaar details are often the first thing that gets checked.
Institutions typically compare your live appearance with the photo stored in Aadhaar records. If your image is too old, blurry, or doesn’t match your current look, it can lead to:
- Delays in banking or financial approvals
- Rejection of KYC verification
- Issues during travel or airport checks
- Problems in availing government services
In many cases, even a slight mismatch can trigger additional verification steps. That’s why keeping your Aadhaar photo updated is crucial—especially if your card was issued several years ago.
Can You Update Aadhaar Photo Online?
One of the biggest misconceptions is that Aadhaar photo updates can be done online. The truth is:
- You cannot update your Aadhaar photo online
- No website or app allows direct photo modification
However, digital tools like the mAadhaar app can help you book an appointment for the update process.
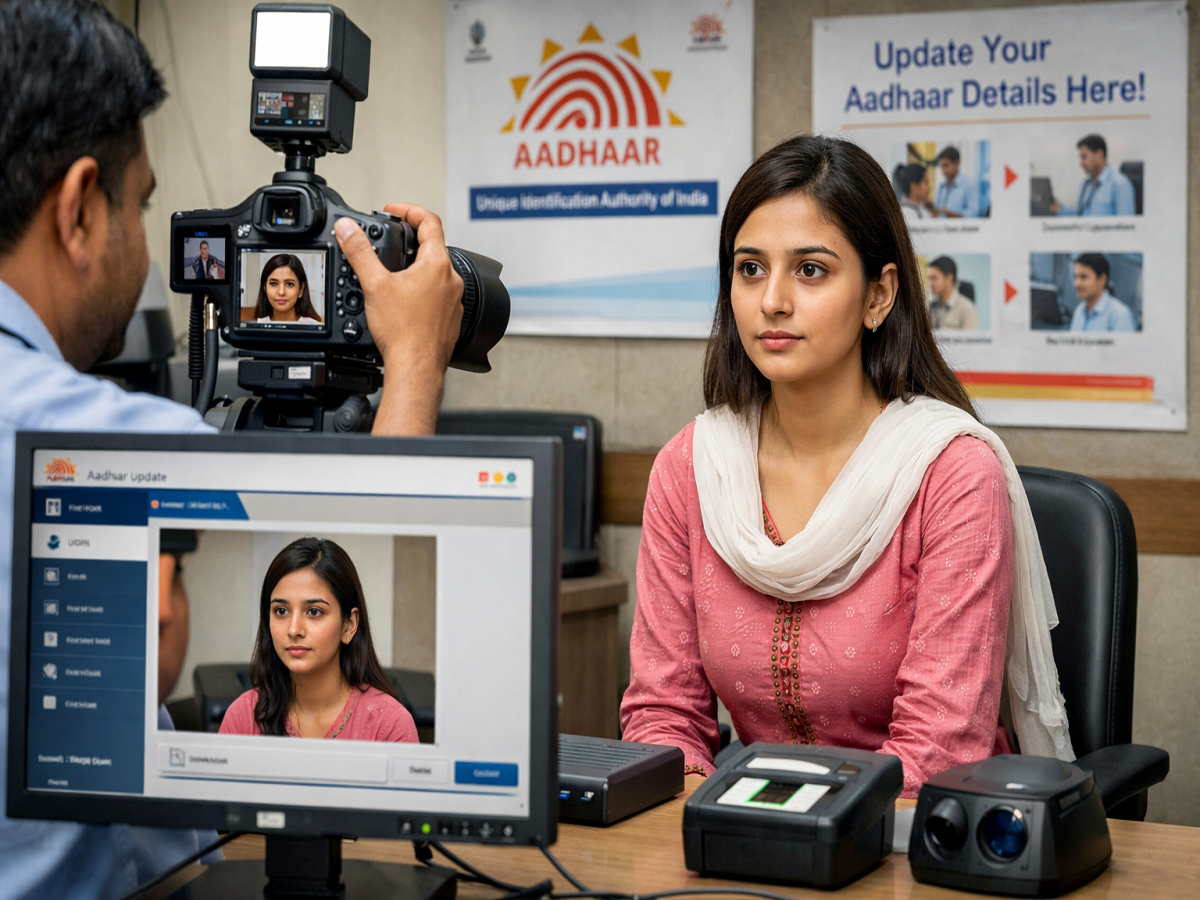
The actual photo update requires a physical visit to an authorized Aadhaar centre, where your biometrics and photo are captured securely.
Step-by-Step Guide to Update Aadhaar Photo
Follow these simple steps to update your Aadhaar photo without confusion:
1. Download the mAadhaar App
Install the official mAadhaar app on your smartphone.
2. Log In
Use your registered mobile number to log into the app.
3. Book an Appointment
Tap on the “Book Appointment” option inside the app.
4. Select Location
Choose your city and pick the nearest Aadhaar Seva Kendra or enrolment centre.
5. Pick a Slot
Select a convenient date and time based on your availability.
6. Choose Service
While booking, select “Photo Update” or “Biometric Update.”
7. Confirm Booking
Review the details and confirm your appointment. Note down the centre address and timing.
Visit Aadhaar Centre for Final Update
Once your appointment is scheduled, visit the selected Aadhaar centre on time. Here’s what happens next:
- Inform the staff that you want to update your photo
- Complete biometric verification (fingerprint or iris scan)
- Get your new photo captured under proper lighting
- Carefully review your details before submission
The entire process is quick and usually completed within a few minutes.
Fees and Tracking Details
- Update Fee: ₹100 (approx.)
- Acknowledgement Slip: You will receive a slip containing your Update Request Number (URN)
- Tracking: Use the URN to check update status on the UIDAI portal
Once the update is processed, you can download your updated e-Aadhaar with the new photo.
Final Word
An outdated Aadhaar photo may seem like a minor issue, but it can lead to major inconveniences in daily life. With identity verification becoming stricter across sectors, keeping your Aadhaar details updated is more important than ever.
The process is simple, affordable, and takes very little time—yet it can save you from repeated verification hassles. If your Aadhaar photo no longer reflects your current appearance, now is the right time to update it.